
Day 1:
See previous posts.
Day 2: Structure and support.
With the lining finished, I finally added boning channels and the bones into the bodice so everything can be held in nice and tight.
For boning I went with a great cheap standard: heavy duty cable ties (shown below). They can be found in most hardware shops and create quite a bit of support.
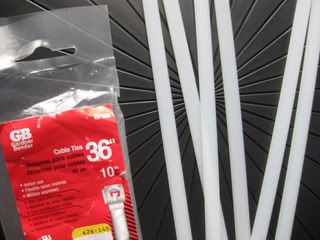
I made my own channels were made with double fold bias tape (another cheap option) ironed so they could fit the boning. Then they were pinned and stitched into place.

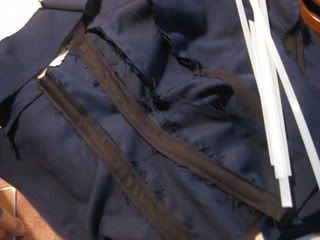
And voila, boning channels!
Day 3: All hell breaks loose
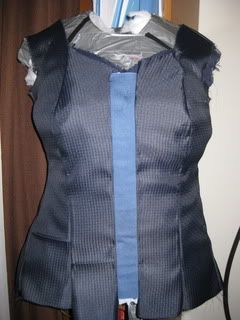
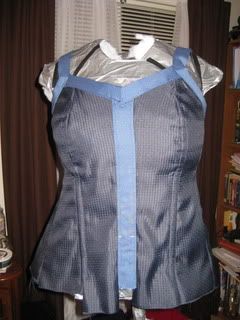
It started well. I cut and assembled the bodice and then I added a strip of the denim material down the center. To finish it off, I also created straps and trim out of the denim (shown below). Looking good so far.
Then I set about the busy work of attaching the lining and the outer bodice together. Because I really didn't want to have to redo it, the whole bit took quite a while. But once I was done I had a finished bodice.
Unfortunately, the zipper broke. The slider came off and the zipper itself was damaged. So I had to remove the zipper and place in a new one (good thing I have a bunch lying around).
So back to work of making the skirt. Considering that time was quickly running out I decided to go with a 50s/60s party dress silhouette--the more poof the better. So I cut the denim and pinned the sheer material into pleats.
When I was done it looked a little something like this (it doesn't show the weirder bits, which was in the back):
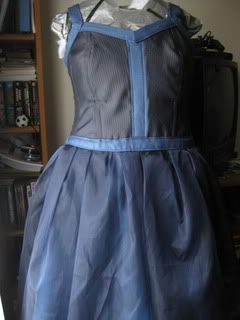
I wasn't too happy with it, but it would do. So I tried to finish up the skirt and it only got worse. Parts of the sheer bits stuck out in weird places and the way the fabric was sewn to the zipper was reminiscent of certain lady parts. Still I would make it work. At least until the zipper broke a second time.
I'm ashamed to say that I broke down. Partly because it was 3am, my second zipper and I had to work the next morning. There was no time to fix the zipper. So I searched through my closets for alternatives and went to bed.
Day 4: A reprive
Things were incredibly slow at work, so I was sent home at 11am. It was like fate had finally smiled on me. So I rushed home, started a new skirt and set about fixing what was wrong with the dress. I even had time to add some pockets and finish everything but the hem. Huzzah I was done!
The final result:
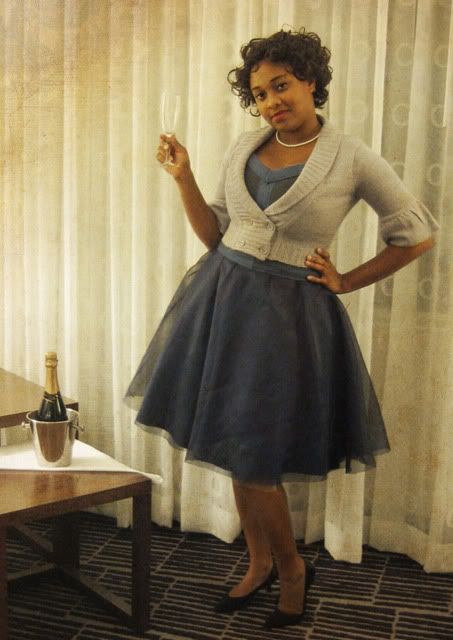

(without the sweater)
Although the skirt hem was unfinished and the straps in the back had to be pinned shut (no time to sew on a snap), it turned out so retro chic and I love it! I even got a compliment from a complete stranger. So I'd like to think of it as a success.
Final thoughts:
All in all it was an interesting experience. The results made it worth it, but honestly I would only do this again if I had more time. Rushing always adds drama, so I'm not sure how the folks on Project Runway do it. However, they are probably a bit more seasoned and experienced in the sewing realm than I. As for the new year, I have no idea what I'll do as my next project, but I plan to stay away from large garments for a little while.
Happy New Years and Happy Crafting!
What an ambitious project in a short time! And as for the "breaking down" when a project is going awry... argh, BTDT. Great job - and the finished project looks lovely in the photos.
ReplyDeleteI've been meaning to ask - where did you get the method / tutorial to make your tape dressmaker's form? I'm thinking it's time I had one.